Sonora-style flour tortillas offer a unique culinary experience, differing significantly from their thicker, softer counterparts. These tortillas boast a delicate, slightly crisp texture and a subtle, almost sweet flavor, making them perfect for a variety of dishes, from simple tacos to elegant wraps. Their thinner profile allows for a satisfying crunch while still maintaining a pliable nature ideal for rolling and folding. This distinct character stems from the specific techniques used in their preparation, emphasizing a careful balance of ingredients and cooking methods.
The secret to achieving these perfectly balanced tortillas lies in the precise approach to the dough and the cooking process itself. This step-by-step guide will walk you through each crucial stage, from preparing the dough to achieving that signature Sonora crispness, ensuring you can replicate the authentic taste and texture of these delightful tortillas at home.
Tools Needed
- Stove
- Measuring cup
- Large bowl
- Work surface
- Rolling pin
- Comal (or griddle)
- Plastic wrap
- Clean kitchen towel
Ingredients
- Water: 1 liter
- All-purpose flour: 8 cups (1 kg)
- Salt: 1 tablespoon
- Vegetable shortening: 1 cup (250g)
Step-by-Step Instructions
Step 1. Prepare the Dough
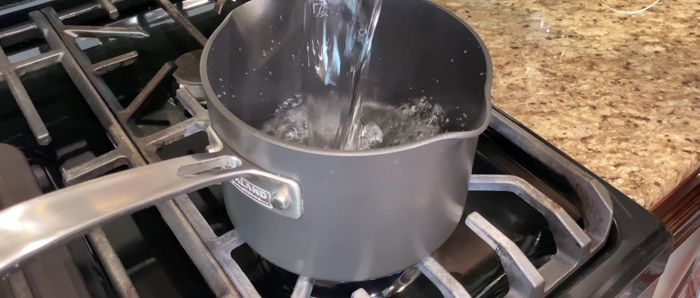
- Heat 1 liter of water on the stove until comfortably warm to the touch.
- In a large bowl, combine 8 cups of flour and 1 tablespoon of salt. Mix well.
- Add 1 cup (250g) of vegetable shortening to the flour mixture. Mix until the shortening is broken down into small pieces, resembling sand.
- Gradually add the warm water to the flour mixture, mixing until a sticky dough forms. The amount of water needed may vary depending on the flour.
- Turn the dough out onto a clean work surface and knead for several minutes until it becomes smooth and less sticky. This process also helps to dry the dough slightly.
- Lightly grease the dough with a little more vegetable shortening. Place the dough in a bowl, cover with plastic wrap, and let it rest for 45 minutes to an hour.
Step 2. Shape and Rest the Dough
- Divide the rested dough into small balls. Lightly grease each ball to prevent drying.
Step 3. Roll and Cook the Tortillas
- Roll out each ball into a thin, round tortilla using a rolling pin. Aim for a translucent tortilla.
- Cook the tortillas on a hot comal or griddle for 5-10 seconds per side, or until lightly browned and puffed up.
Step 4. Keep Warm and Serve
- Stack the cooked tortillas on a clean kitchen towel to keep them warm.
Read more: Juicy Birria Quesa Tacos Recipe: A Step-by-Step Guide
Tips
- The key to Sonora style tortillas is using warm water, not hot water, and kneading until the dough is smooth and slightly less sticky.
- Resting the dough is crucial for easier stretching and soft tortillas.
- Cook the tortillas quickly at high heat to achieve a thin, crispy texture.
- To store leftover tortillas, separate them to cool slightly, then place them in a plastic bag in the refrigerator.
Nutrition
- N/A
FAQs
1. Can I use all-purpose flour instead of bread flour for Sonora-style tortillas?
While you can, bread flour's higher protein content leads to a chewier, more flavorful tortilla. All-purpose flour will result in a slightly softer, less crisp tortilla.
2. How do I store leftover Sonora-style tortillas?
Wrap them tightly in plastic wrap or place them in an airtight container. They're best enjoyed fresh, but will keep for a few days at room temperature or up to a week in the refrigerator. You can also freeze them for longer storage.
Making Sonora-style flour tortillas may seem daunting at first, but with this guide, you'll discover it's a surprisingly achievable and rewarding process. Enjoy the satisfying crunch and subtle flavor of these authentic tortillas, perfect for elevating your next meal. Now go forth and create delicious, restaurant-quality tortillas in your own kitchen!