Conchas, the beloved Mexican sweet bread, are a delightful treat that transcends generations. Their unique shell-like topping, reminiscent of seashells, gives them their name, and their soft, slightly sweet interior is a perfect balance of textures and flavors. From humble beginnings in Mexican bakeries, conchas have become a staple enjoyed throughout the country and increasingly popular worldwide. Their comforting aroma and irresistible taste make them a perfect accompaniment to coffee, a midday snack, or a special occasion dessert. This recipe captures the essence of authentic conchas, bringing the warmth and tradition of Mexican baking to your kitchen.
This recipe meticulously details each step, from preparing the dough to creating the signature shell topping. Whether you're a seasoned baker or a complete novice, you'll find the instructions easy to follow and the results incredibly rewarding. Let's embark on this culinary journey and create a batch of delicious, homemade conchas together, ready to share with family and friends.
Tools Needed
- Mixer (optional)
- Container
- Plastic wrap
- Baking tray
- Parchment paper
- Rolling pin
- Cookie cutter or knife
- Tortilla press (optional)
Ingredients
- Milk
- Yeast
- Flour
- Sugar
- Eggs
- Vanilla extract
- Butter
- Salt
- Vegetable Shortening
- Cocoa powder (optional)
- Food gel (optional)
Step-by-Step Instructions
Step 1. Prepare the Yeast and Dough
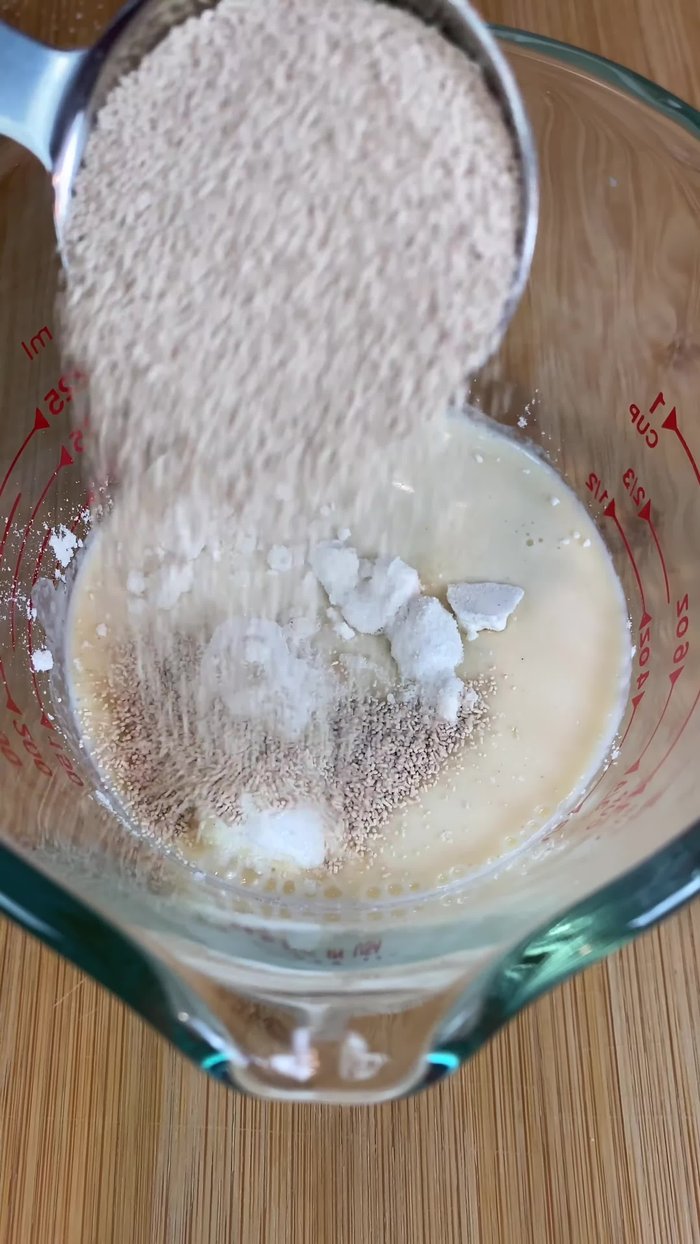
- Warm milk over low heat to activate yeast. The yeast should form bubbles; otherwise, discard it.
- In a bowl, combine flour, sugar, and activated yeast. Mix until bubbles form. Let it rest in a warm place for 15 minutes.
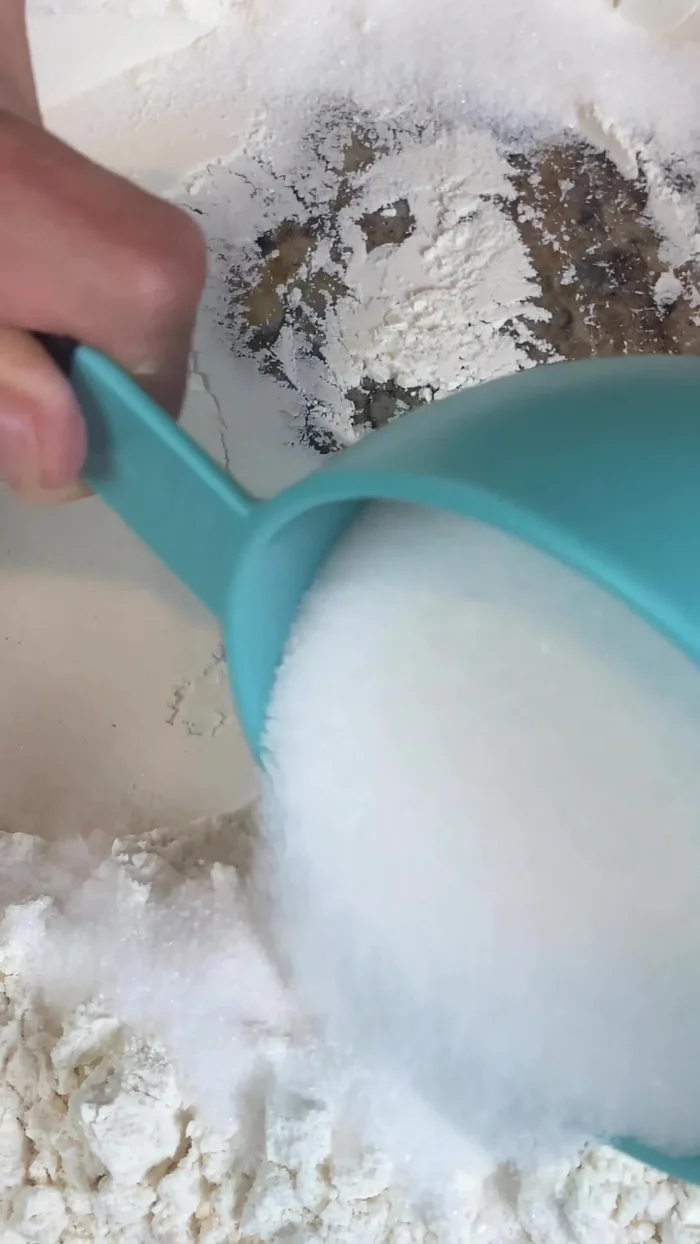
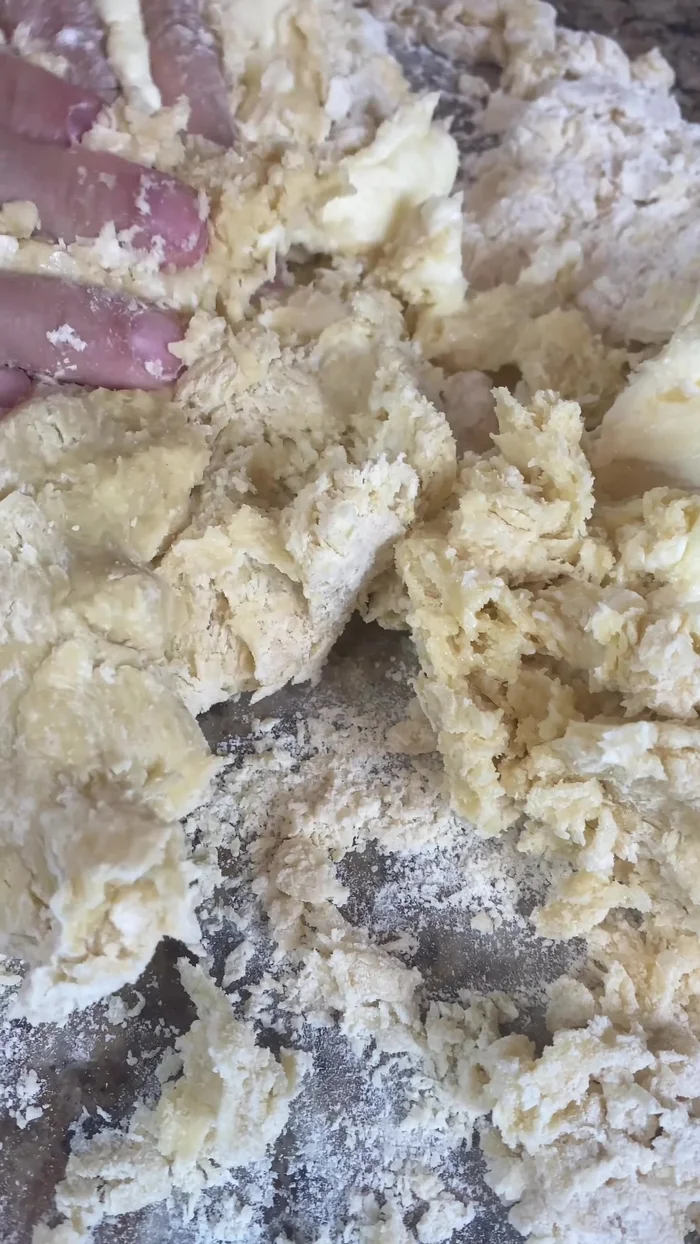
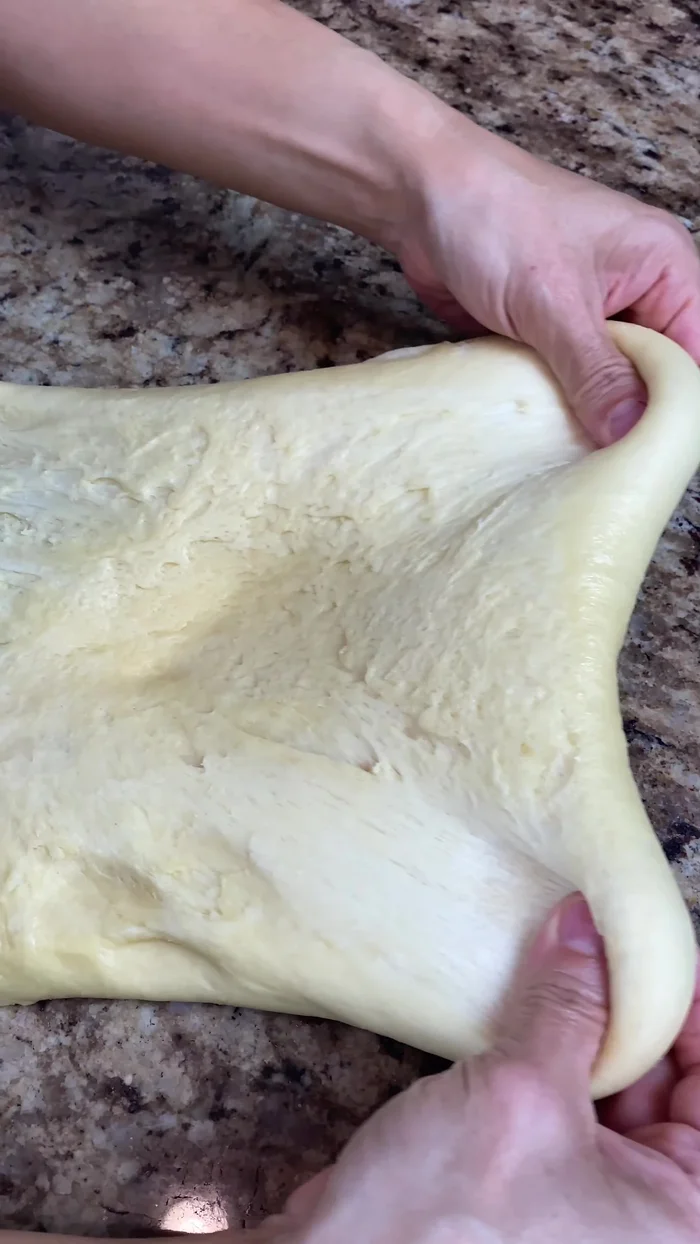
- Combine flour, salt, sugar, eggs, and vanilla extract. Add the yeast mixture and mix until absorbed. If using a mixer, the process is faster. Knead by hand until smooth and elastic, adding butter at room temperature. Perform the windowpane test to check gluten development.
- Form the dough into a ball, place it in a container, add vegetable shortening, cover with plastic, and let it rise until doubled in size in a warm place.
Step 2. Shape and First Rise
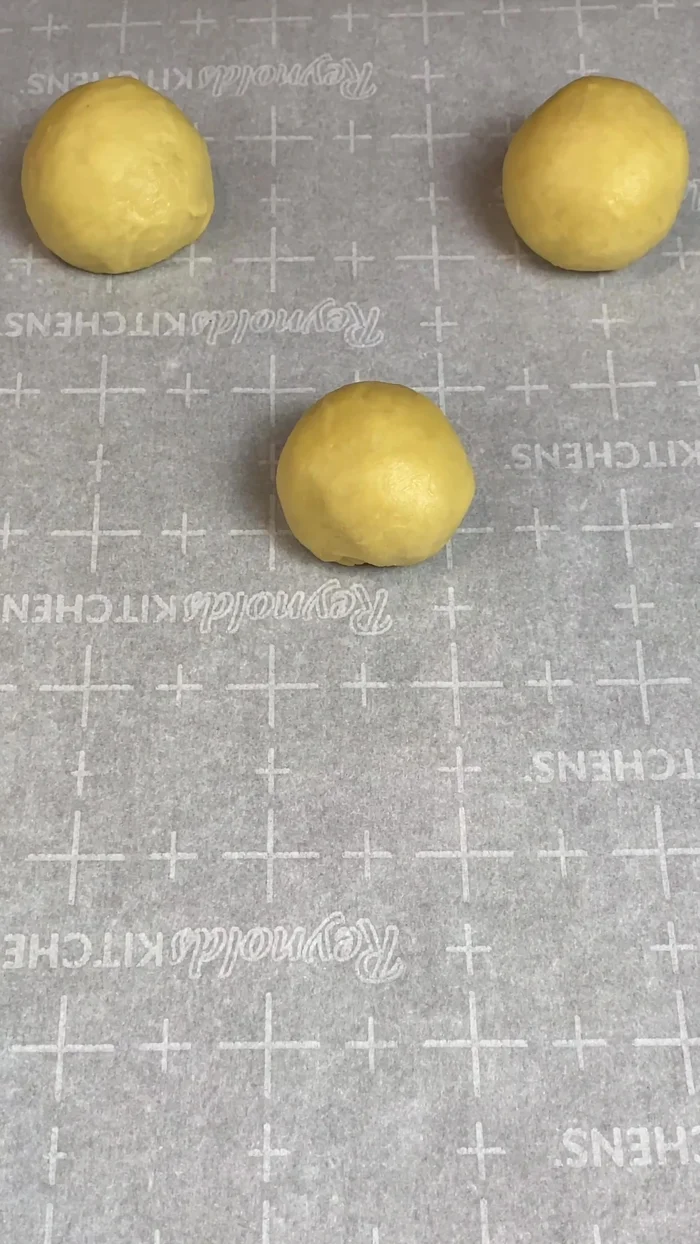
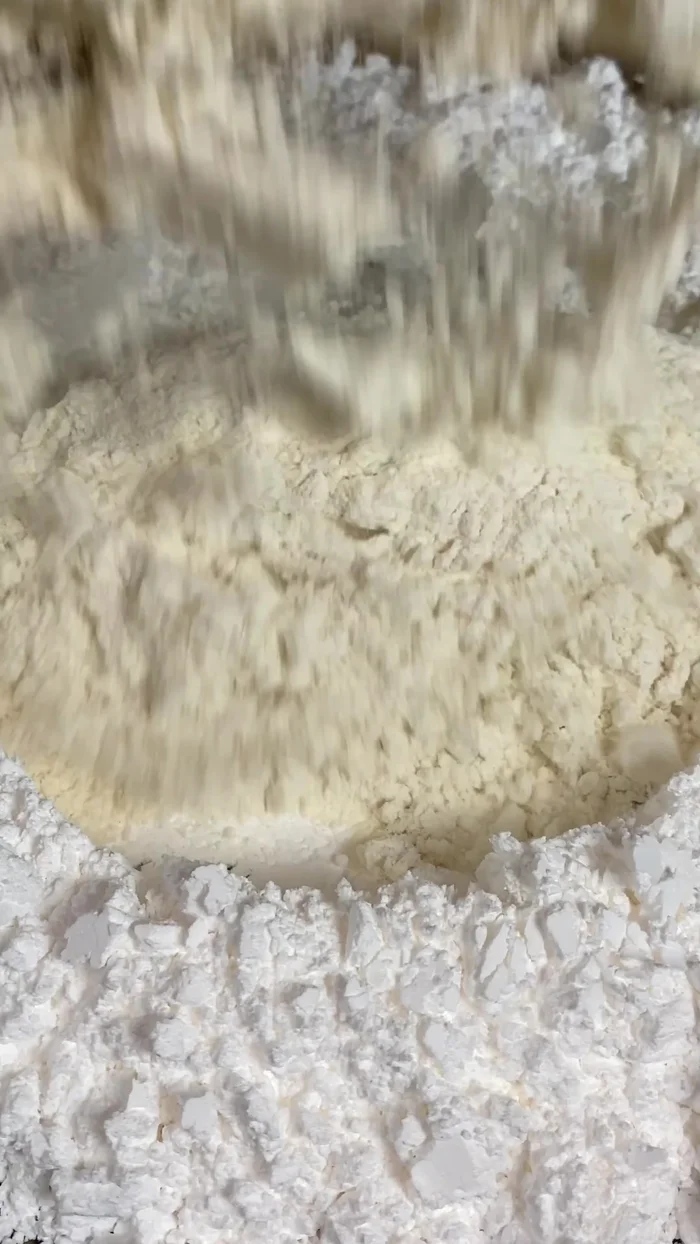
- Once doubled, transfer the dough to a floured surface, roll into a square, and cut into equal parts (about 80 grams each, yielding 12 pieces). Shape them into balls and place them on a baking sheet lined with parchment paper.
- Let the dough balls rise again until doubled in size. Lightly brush with vegetable shortening and cover with plastic for 30 minutes.
Step 3. Create and Apply the Crust
- Mix sugar, flour, and vegetable shortening until the butter melts and a paste forms. Add cocoa powder for brown, food gel for pink, or leave it white.
- After the second rise, decorate the dough balls with the prepared crust using a cookie cutter or knife. Press the crust gently to avoid it falling off.

Step 4. Bake and Cool
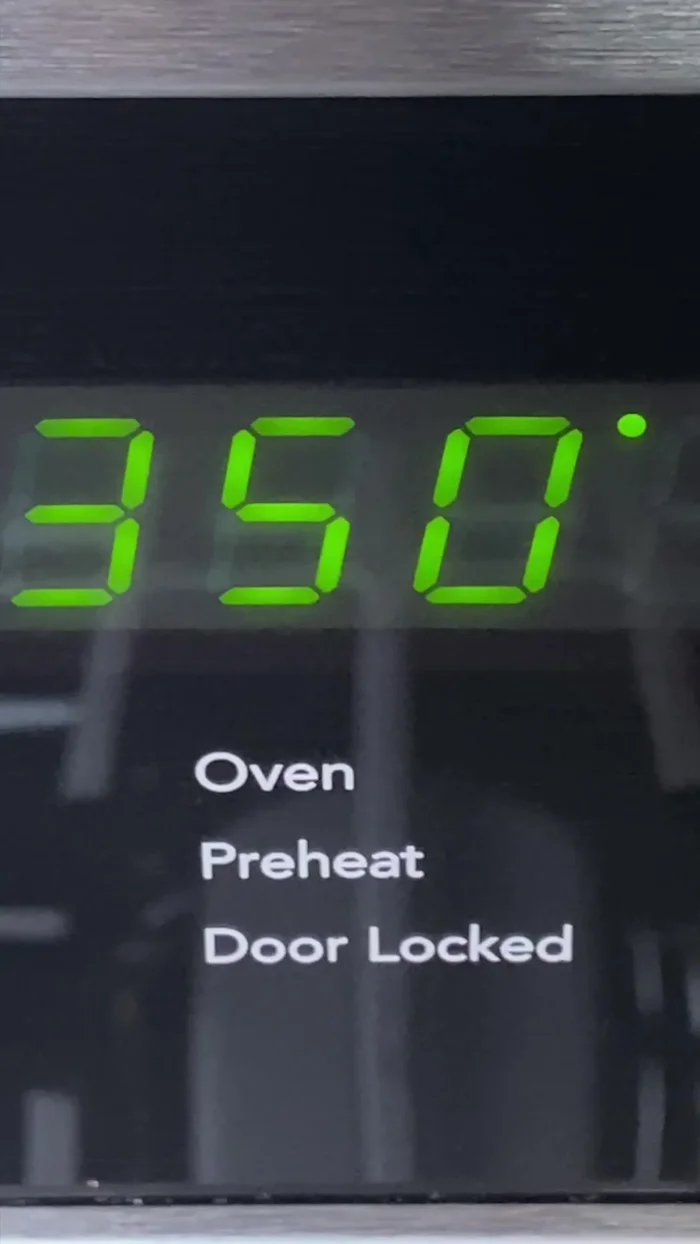
- Preheat oven to 350°F (175°C), then reduce to 300°F (150°C). Bake for 20-22 minutes. Let cool before serving.
Read more: No-Bake Carlota de Limon: Easy Mexican Lime Icebox Cake Recipe
Tips
- Take care not to over-knead the dough, to prevent the gluten from becoming too strong.
- Ensure adequate separation between dough balls on the baking sheet to allow for expansion during baking.
Nutrition
- N/A
FAQs
1. Can I use a different type of flour for the concha dough?
While bread flour is recommended for the best texture, all-purpose flour can be substituted. The conchas might be slightly less chewy.
2. How do I store leftover conchas?
Store conchas in an airtight container at room temperature for up to 3 days, or freeze them for longer storage. Reheat gently before serving.
3. What can I substitute for the lard in the recipe?
Vegetable shortening or butter can be used as a substitute for lard, but the flavor and texture might be slightly different.
With a little patience and these simple instructions, you've successfully baked a batch of authentic Mexican conchas. Enjoy the delightful taste and satisfying texture of your homemade treats, perfect for sharing with loved ones. Now go forth and conquer the world of concha baking!